Video concepts & motion tests
Turn ideas into short AI video concepts
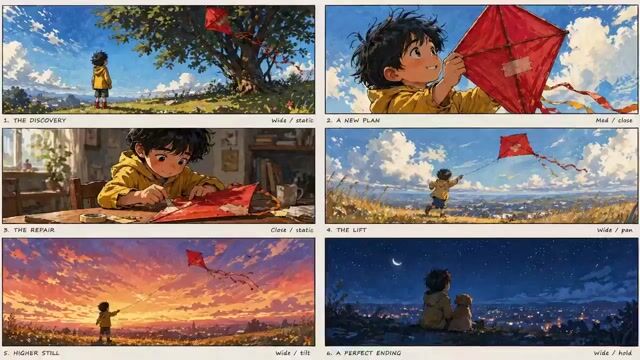
Start with a scene idea, storyboard prompt, or motion brief, then preview a short clip direction before committing to a final production path.
- Commercial and social video directions
- Story moments and motion tests
- Storyboard and shotlist drafts
- First-pass video clips for review